what’s On My Reading List
After a full teaching year, summer has a different rhythm. There is more room to reflect on what has been working well, what needs rethinking, and what I’d like to theme my own growth around for the upcoming year. Part of planning for a new year always involves catching up on my reading list, which tends to get set aside during busier months. I like to balance denser reads with shorter or reflective ones, and I have some titles that I re-read annually to keep my teaching grounded. With that in mind, this is my summer reading list for this year.
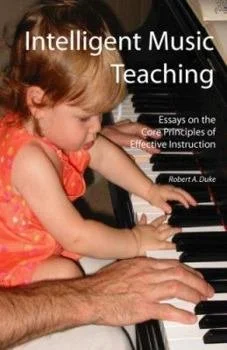

Intelligent Music Teaching by Robert A. Duke
This book is always a yearly re-read, and I learn something different from it each time. Robert Duke writes about teaching in a way that is direct and practical. I return to this book over and over again because it helps me think about the working parts within a lesson: what I ask, what I demonstrate, what I correct, how I know whether a student actually understands what we worked on, what good feedback is and how it functions—the list goes on. It always brings me back to central questions of effective teaching: “What did the student actually learn and how do I know?” This kind of reflection is useful every year because the students are different, my teaching is different, and the questions weave into lessons are different, too. One the cusp of a new school year is the perfect time to revisit these concepts.
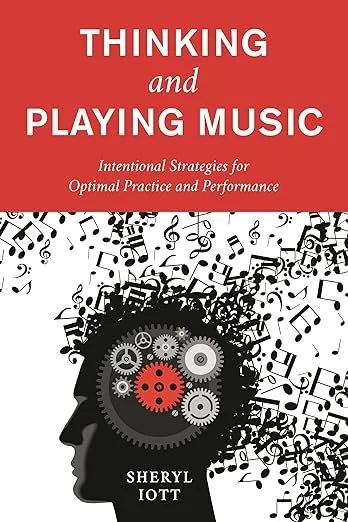
Thinking and Playing Music by Sheryl Iott
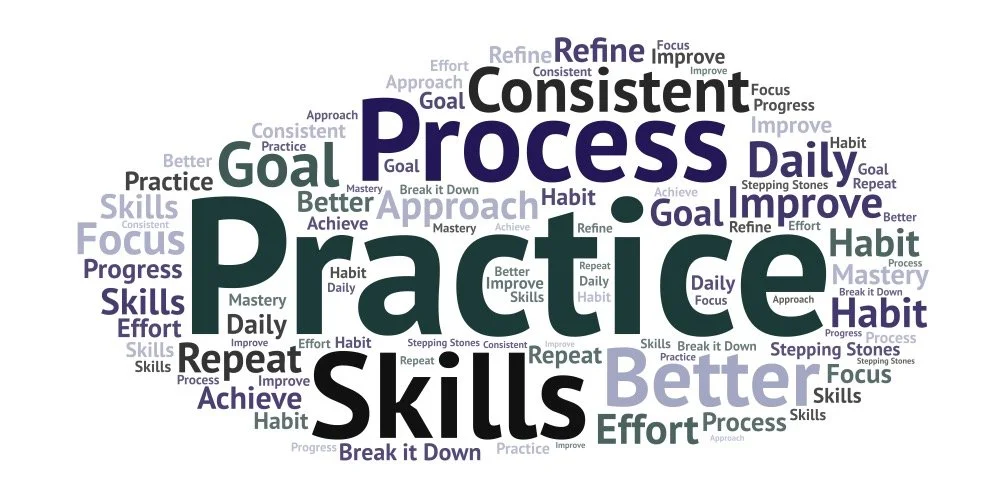
This book looks at how cognitive science can be applied to musical development, helping musicians become more efficient and secure in their learning. I’m always looking for better ways to help students practice more intentionally. This includes noticing patterns, solving specific problems, preparing for performance, and learning how to think and listen while they play rather than simply repeating a piece from beginning to end. With some bucket-list repertoire on my plate this year, I’m eager to add more learning and practice strategies to my own toolbox.
Play by Stuart Brown
Play is not separate from learning. For many students, especially young students, play is a cornerstone of learning. It connects so naturally to curiosity, experimentation, flexibility, and imagination—all things that matter to me as a teacher. I’m especially interested in this book because it looks at play not just as an activity, but as a state of mind and way of growing.
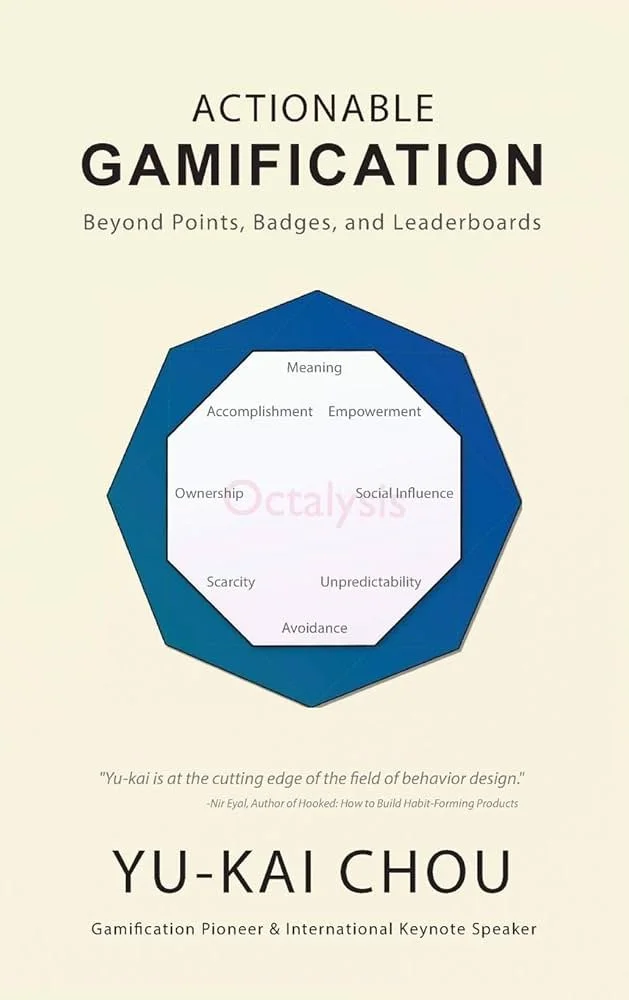
Actionable Gamification by Yu-kai Chou
This book looks at game mechanics, behavioral psychology, and the reasons people feel motivated to take action. Yu-kai Chou’s framework is designed to help people apply those ideas in the workplace and systems that influence motivation and behavior. Through a teaching lens, I’m interested in the bigger question underneath the framework: what helps students feel invested enough to persist, especially when learning is not instantly rewarding?
Recollections by Robert Weirich
I’m looking forward to this pianist’s reflection on teaching, performing, and living with music over time. I love books that sit somewhere between professional reflection and personal essay, especially coming from musicians who have spent a lifetime thinking about what it means to teach and perform. The kinds of observations that can only be made through time are always such an impactful read.
Everything Is Tuberculosis: The History and Persistence of Our Deadliest Infection by john green
Not everything on the list is about teaching! I also like to keep a few books in the stack that stretch my thinking in other directions. In this case, that means reading about the cruel history of consumption — which, as it turns out, is directly related to quite a few historical pianists and composers.
I’ll be sharing takeaways from each book as I make my way through the list. Here’s to expanding the possibilities of teaching and learning—one page at a time!